


Published: June 5, 2023
Updated: November 5, 2024

Are you tired of printing out documents just to add your signature?
Well, you're in luck.
Today we're diving into four super easy methods to add a signature to your documents without the hassle of pens, paper, printer ink, scanners, and the like.
We've got some smart tricks up our sleeves, with signing methods that will work for any use case.
Need to sign a document for personal reasons? Methods 1 and 2 are totally free.
Need to collect a legally binding signature on a business contract? Skip to Methods 3 and 4
Before we dive into the Microsoft Word signature tutorials, let’s cover some important basics.
-
How do electronic signatures work? An electronic signature signifies the intention and act of authorizing a document. It can encompass various methods, such as selecting a checkbox, digitally inscribing or typing your name, or digitally inscribing or typing your initials.
-
Are electronic signatures on Microsoft Word documents legally binding? Digitally drawing your signature might not suffice in situations involving arbitration. To guarantee the legal enforceability of your signatures, use electronic signature software that dispatches a distinct link through a signature request email to each signer's inbox. This process enables the recording and authentication of digital signing activities, making the signatures legally binding.
-
What is the difference between an electronic signature and a digital signature? Digital signatures are electronic signatures, not all electronic signatures are digital signatures. Digital signatures provide a higher level of security and assurance due to their cryptographic nature (involves the use of a unique digital certificate that is issued by a trusted Certificate Authority (CA), while electronic signatures encompass a broader range of methods used to sign electronic documents. In the vast majority of cases, a legally-binding electronic signature will suffice.
-
What is the best way to get a Word document signed? Methods 3 and 4 are legally binding and offer a better client experience. Clients can open up a signature request email and sign the document online without having to hassle with uploading their signature. While methods 3 and 4 aren’t free, they are recommended for business use cases. Methods 1 and 2 can work for personal reasons, like adding your own signature to new patient paperwork or a school permission slip.

Method 1: Add a handwritten signature image
You can upload an image of your signature to your Microsoft Word document.
Pros and cons of this method
This method isn’t legally binding because there’s no way to know who took and uploaded the photo of your signature.
But this method is easy to do, and it will work in a pinch. If you need to add your own signature to a personal document like a rental application, this could work for you. If you’re collecting a prospective client’s signature on a business agreement, this method could put you at risk should the relationship fall through in some way.
How to add a handwritten signature in Word
Use these steps to upload a photograph of your real signature.
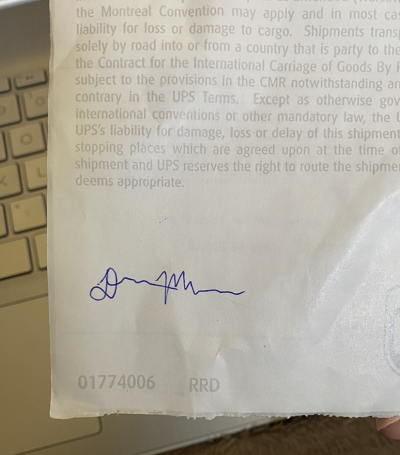
Step 1. Sign a piece of scrap paper and take a picture of it.
Start by using pen and paper to create your signature. Use your phone’s camera to snap a photo of your signature.
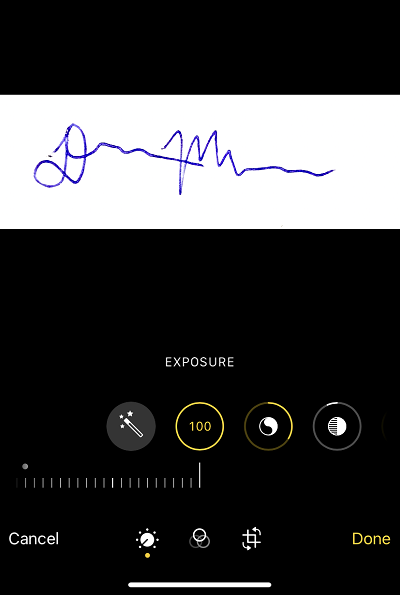
Step 2. Crop and brighten the photo.
Next, edit the photo so you can zoom in on your signature. You might also want to increase the exposure. This will eliminate any imperfections and crinkles in the paper, giving you a nice clean background for your signature.
Step 3. Select Insert > Picture > This Device.
To add the signature image to your Word document, you’ll need to insert the image.
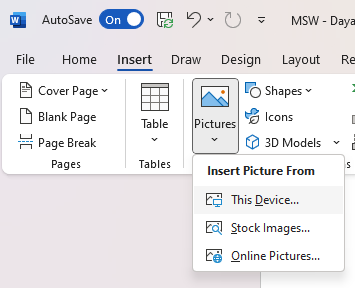
Add it where you want it to appear (typically above the signature line), and resize the photo as needed.
Method 2: Draw your signature with Word’s Drawing Canvas
Microsoft Word offers a drawing tool that allows you to doodle your signature.
Pros and cons of this method
This is the only method that allows you to use nothing but Microsoft Word. You don’t need to sign-up for some other app or snap a photo. You can manage everything directly in Word.
But there’s a big downside. This method isn’t legally binding. As mentioned above, this can work for simple or personal reasons but should be avoided for business contracts where a lack of signature validation could leave you high and dry.
How to insert a signature with Drawing Canvas
Follow these steps to easily add a signature block directly into Microsoft Word.
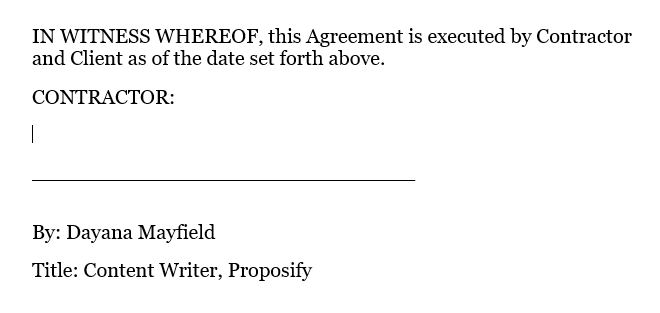
Step 1. Place your cursor where you want the signature to appear.
Place your cursor above the signature line. (If you need to add a signature line, just use Shift+Underscore several times to create a straight line large enough for a signature.)
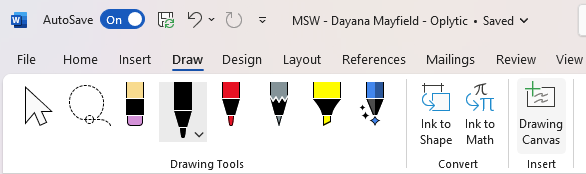
Step 2. Select Draw > Drawing Canvas.
You can then choose a black pen with a small width to draw a realistic looking signature.
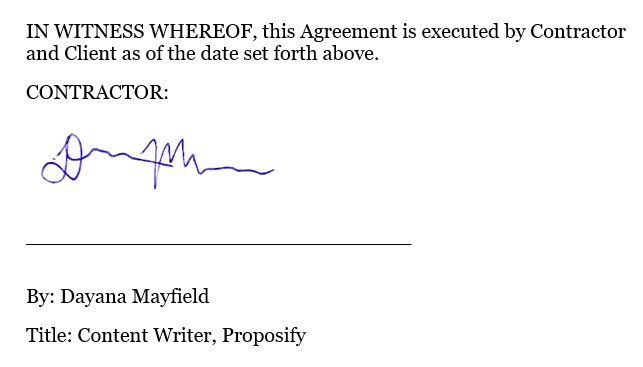
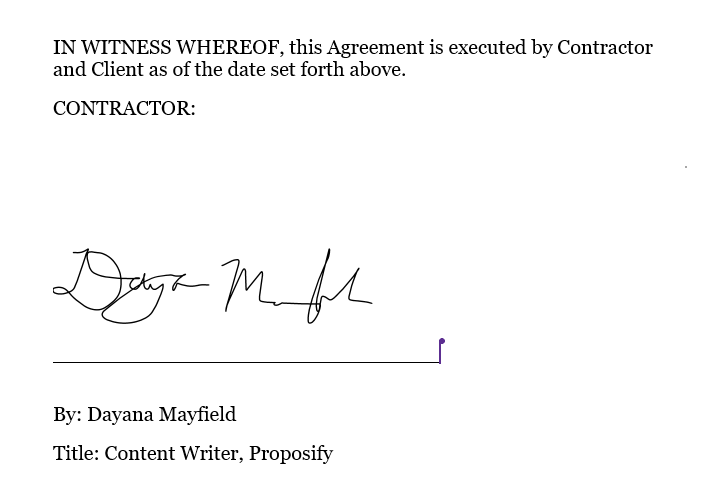
Step 3. Draw your signature, and resize it as needed.
Use your mouse or laptop trackpad to draw your signature. Feel free to take up the entire space of the Drawing Canvas, because you can then resize your signature so it looks more true to life.
Method 3: Use Scrive’s Microsoft Office Add-in
There are a lot of different signature Add-ins (extensions) for Microsoft Office. Scrive is one of the more popular ones.
Pros and cons of this method
On the plus side, Scrive offers a legally-binding e-signature solution. Because it uses email notifications, signer identities are verified.
But rather than allowing you to sign signature lines throughout the document, Scrive adds a single signature block at the end of the document. If you want people to sign or initial on specific lines, this might be a deal breaker.
How to sign a Word document with Scrive
Here’s how to sign a document with Scrive:
Step 1. Install the Scrive Add-in for Office.
To find Add-ins for Microsoft Office, open up a Microsoft Word document. Select Insert. Select Get Add-ins. Type “signature” into the search bar to pull up a list of apps.
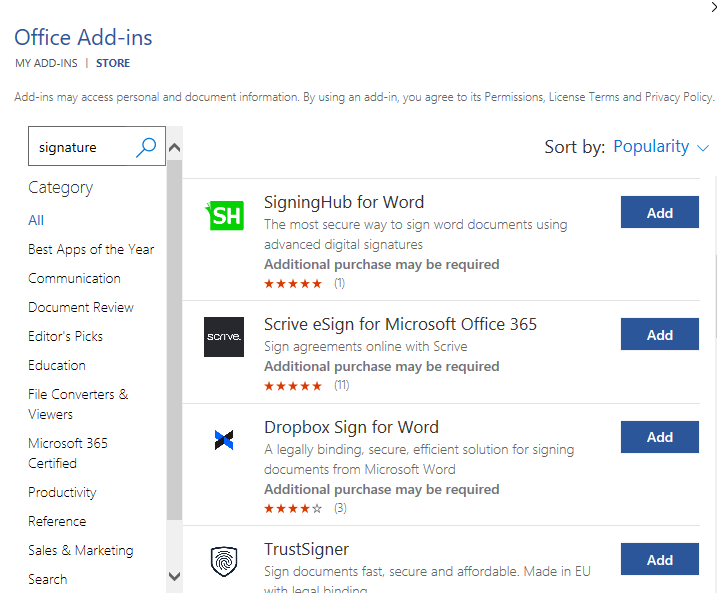
(Some of the top options include SigningHub, Scrive, Dropbox Sign, and TrustSigner. If you’re looking for low-priced options, consider Scrive or Dropbox Sign.)
Step 2. Start a free trial of Scrive on their website.
You can install the Scrive Add-in, but to use it, you’ll need to log in. So head over to their website to start your 30-day free trial.
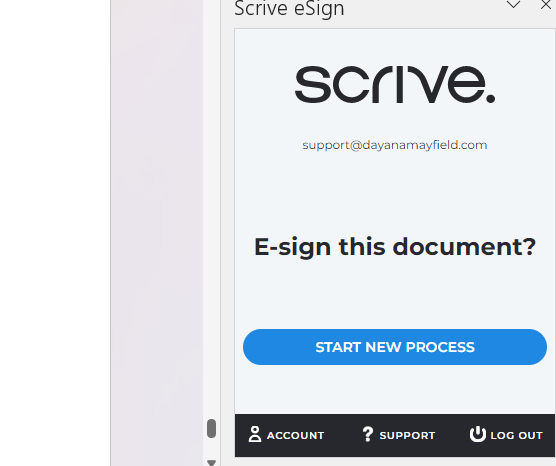
Step 3. Return to the Microsoft Word document and log in to the Scrive Add-in. Select “Start New Process.”
Once you start a new process, it will show up in your Scrive dashboard, where you can track all documents and signatures.
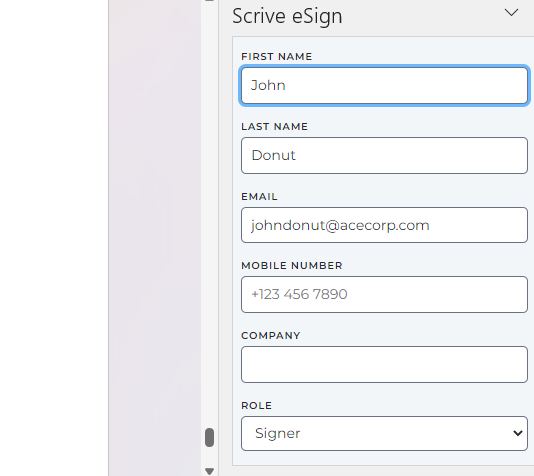
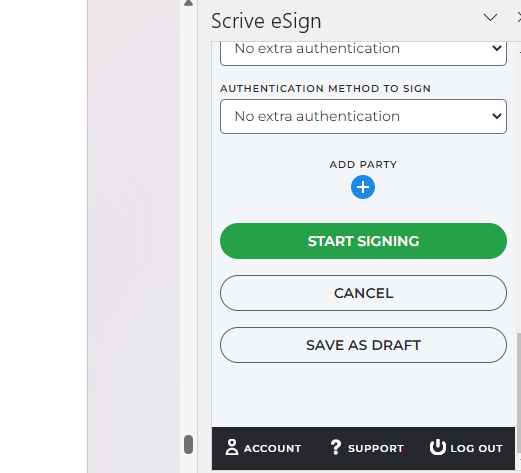
Step 4. Select “Add Party” to add a signer, and enter their details.
Then, add the signer’s details. At a minimum, make sure to add the signing party’s first name, last name, and email address. You can also add their mobile phone number and company name. And there are also different roles you can choose, like signer, hidden approver, and visible approver.
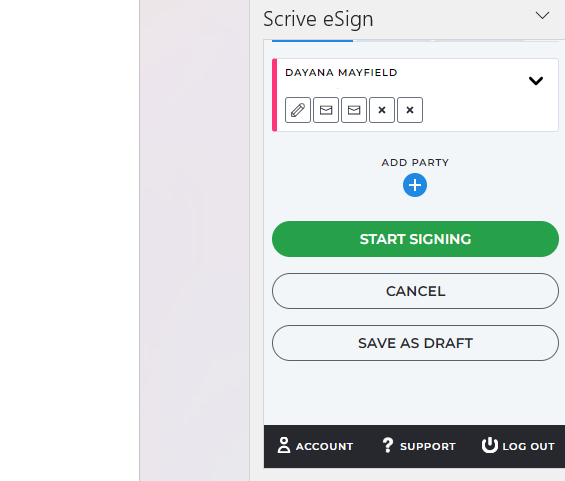
Step 5. Select “Start Signing” to request signatures.
Once you hit this button, it will send the email notifications to you and the other signers. These email notifications work to help validate that the document was signed by the appropriate person.
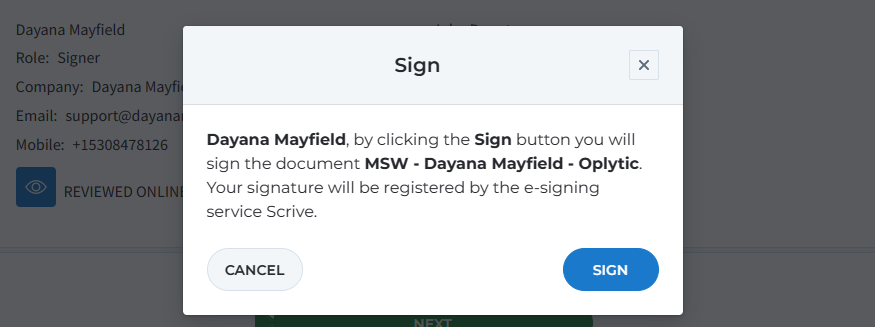
Step 6. Open the notification email and sign the document.
And the last step is to open the email and sign it yourself. You can later use Scrive to remind signers if they haven’t signed yet.
Method 4: Sign your contract with Proposify’s proposal software
Proposify offers proposal software that makes it easy to create, send, and track basic contracts and beautiful, high-converting proposals.
Pros and cons of this method
With this method, you can create a better client experience. Clients can easily review your contract online without having to download anything. They can sign the contract in a few easy clicks and even make the deposit payment to begin the project.
As a downside, this method isn’t free. But if you send a few contracts or proposals each month the cost will be worth it. You get templates, a content library to store contract and proposal snippets, email reminders, and client activity analytics.
How to sign your contract with proposal software
Follow these steps to create and sign documents with professional proposal software.
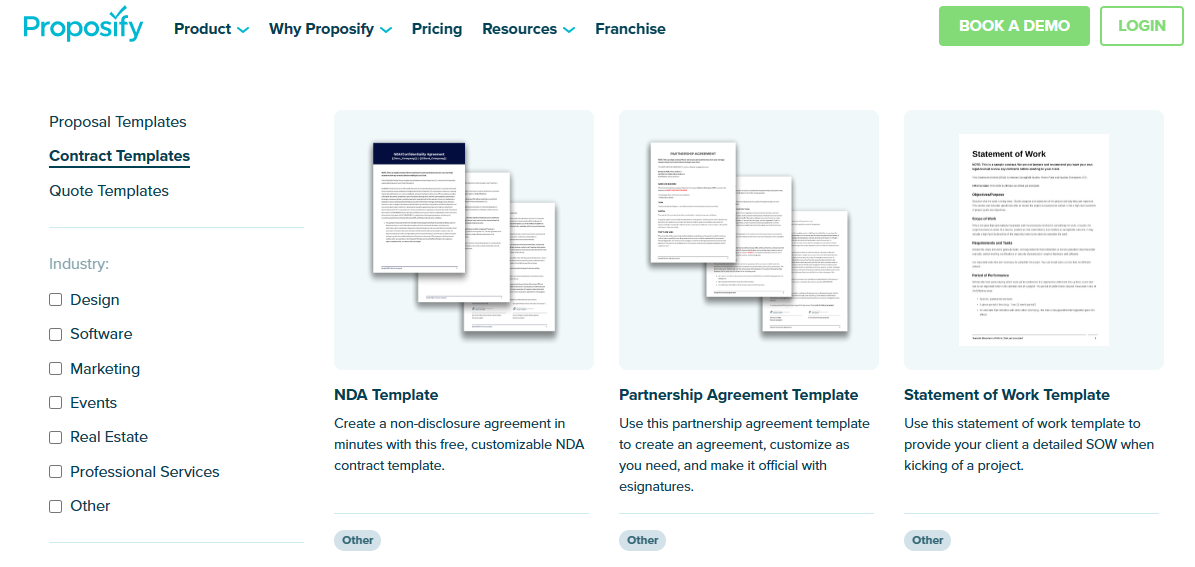
Step 1. Choose a contract template.
Save time by starting off with one of our contract templates. (You might also want to check out our proposal templates for attractive, branded proposals that sell your services.)
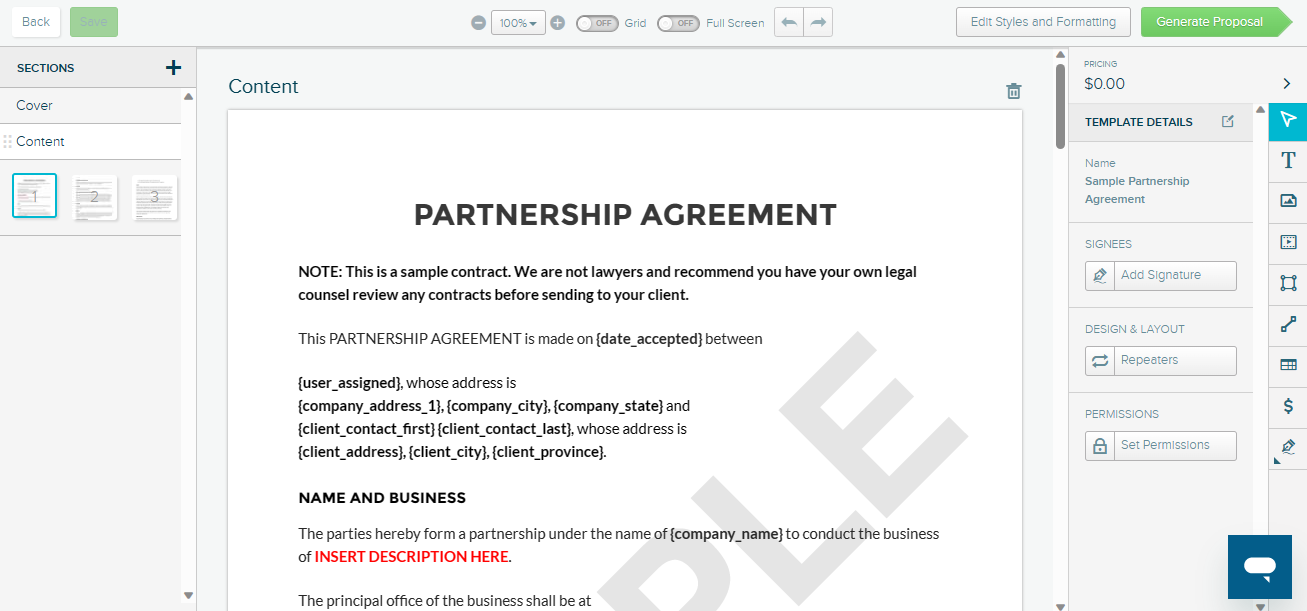
Step 2. Update the template to your needs.
Edit the template to make it your own. Add your business details and essential contract language. You can copy and paste the content of your Microsoft Word contract into Proposify.
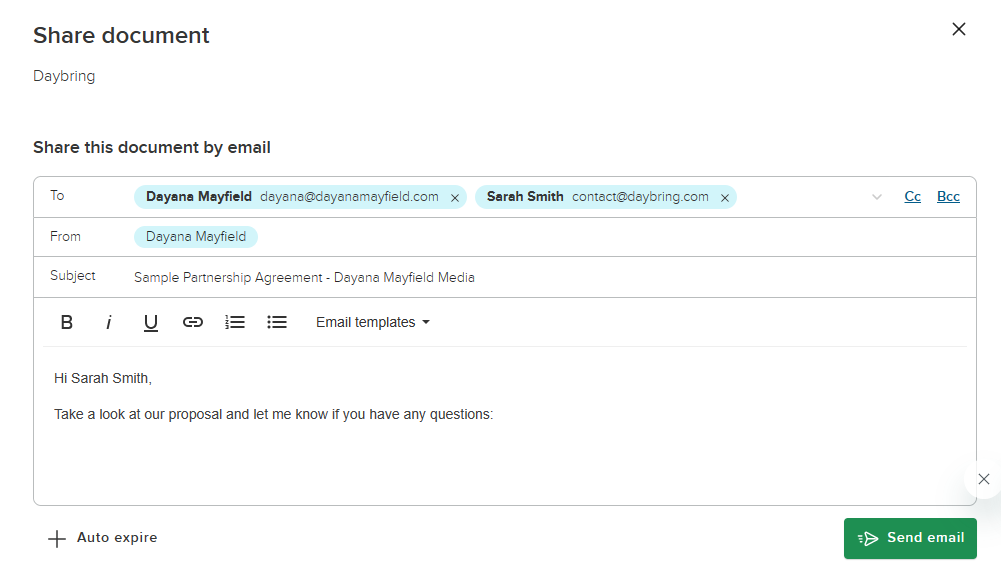
Step 3. Send a request for signature.
Next, you’ll want to add your prospective client’s name and email address. Select the “Share” button to generate an email notification with a request for signature. The email validates their signature, making it legally binding.
Step 4. Track client activity, and follow up accordingly to close more deals.
With Proposify, you can keep track of when clients open and view your proposal. Send reminders accordingly. Ask clients if they have questions or want revisions to the contract.
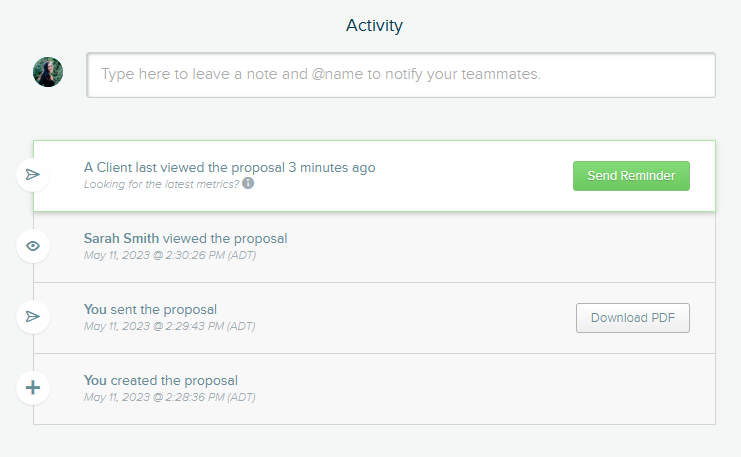
With relevant, customized follow-ups, you can proactively address issues and close more deals.
Create contracts and proposals that are designed to close with Proposify. Learn more about our proposal software.