


Published: December 6, 2018
Updated: December 20, 2024
Using the content library to store and organize the text and images you use over and over again makes it even easier (and quicker!) to build proposals.
We previously shared the secrets behind building your own template in Proposify, which gives you a base to work from each time you start a new proposal so you’re not reinventing the wheel. Now, let’s talk about how to use the content library to quickly populate your winning proposal.
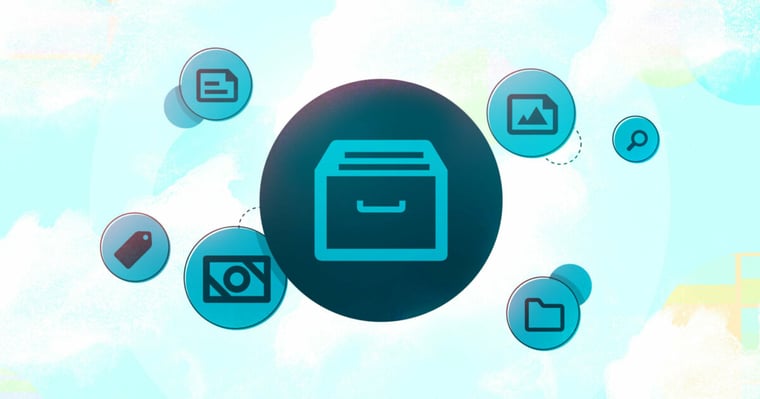
The content library is a central place that everyone on your team can access to find everything they need to build proposals; things like product or service descriptions, bios, fee tables, images, text snippets, and any other pieces of content that don’t change much from proposal to proposal.
Preparing these pieces in advance may take a bit of groundwork, but once they’re all loaded into your library, pulling together the content of your proposal will be as easy as drag, drop, and tweak.
With a solid template and a fully-stacked content library, your proposal process can be simplified to assembling pieces you’ve already created and then customizing it for the particular client and project. By not having to start your proposal from scratch each time, you’ll be able to create proposals faster, jumping ahead of your competition.
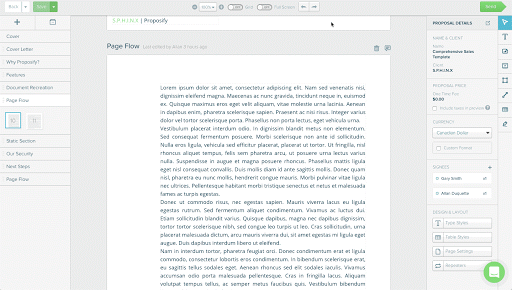
Using the content library
Storing your text and images in the content library saves your team from hunting down pieces of content each time you want to pull something for your proposal. The content library keeps your content neatly organized.
To access your content library, click the drawer button on the left side of your dashboard.
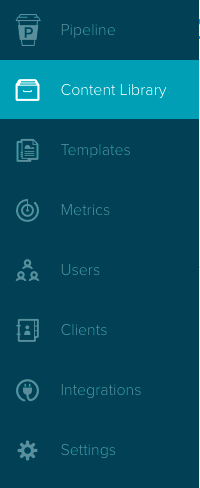
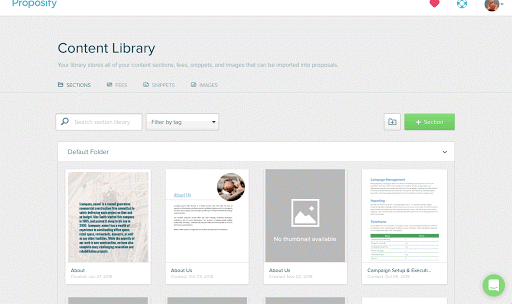
From there, you can upload your content into one of four categories: sections, fees, snippets, and images.
Sections
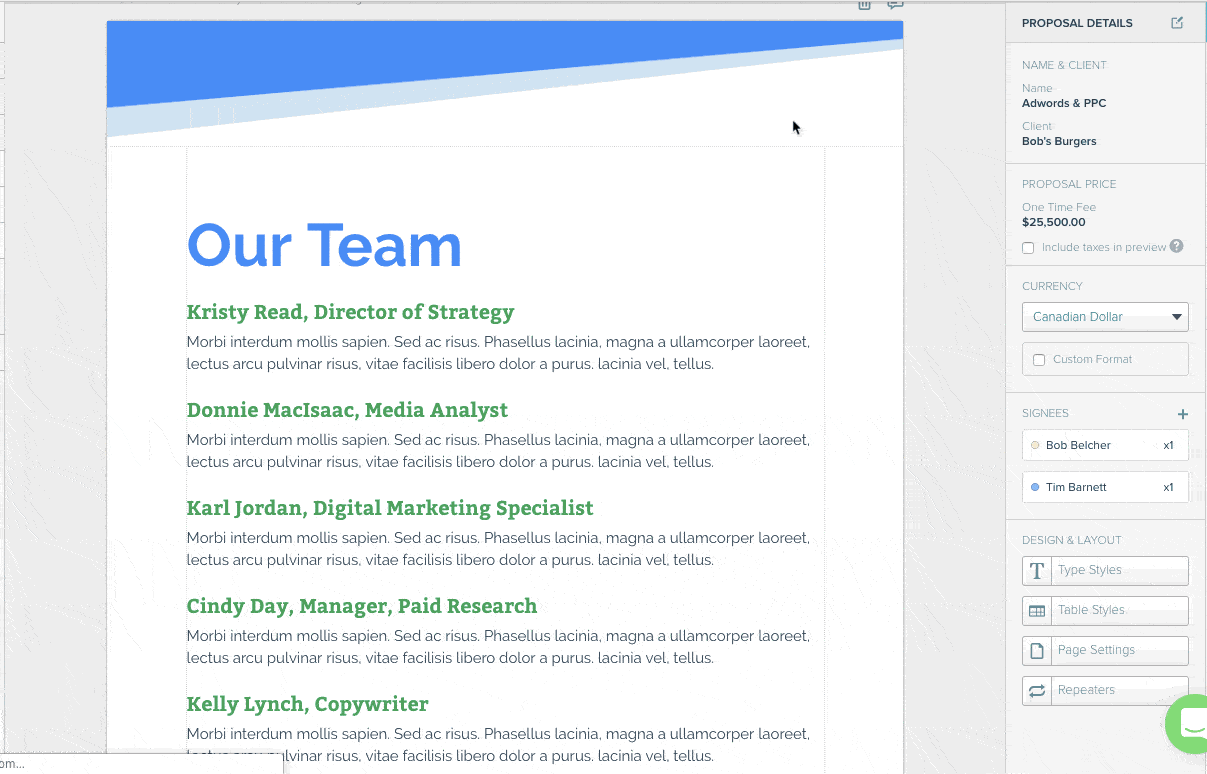
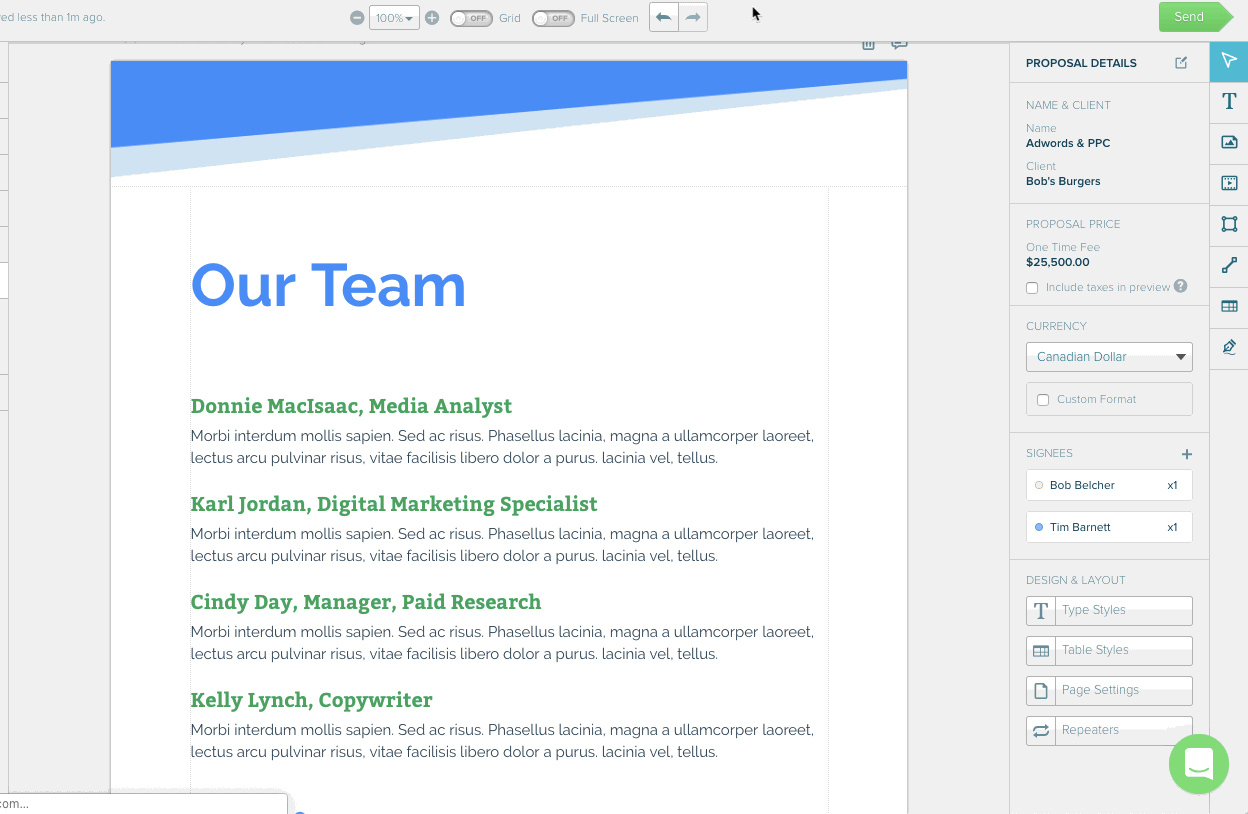
Sections are the pieces that make up your proposals, like About Us or Team Bios.
To add a section to your content library, you can do one of the following:
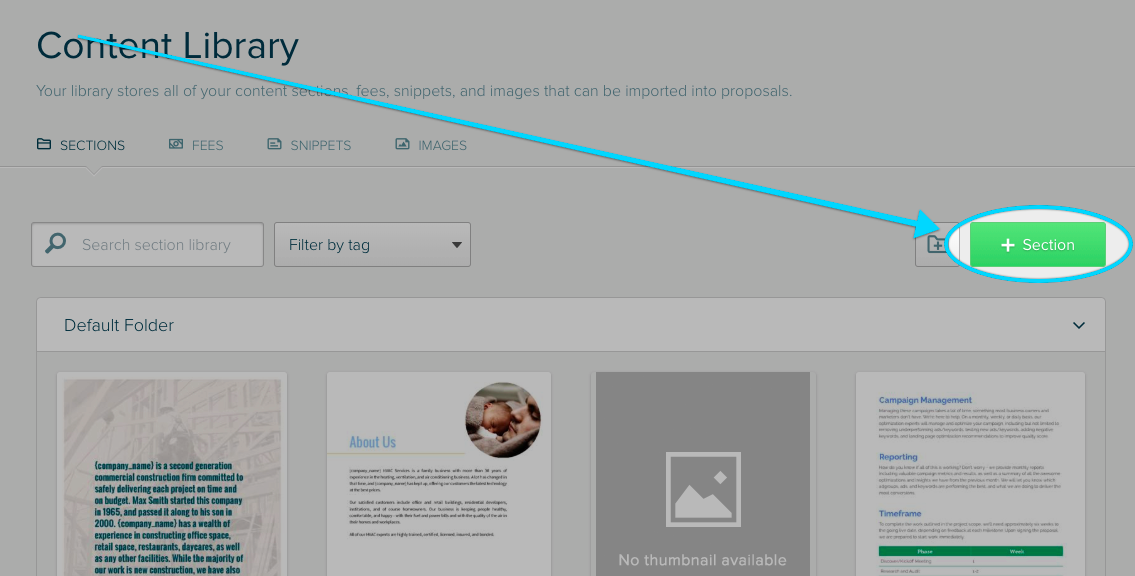
- To create a new section in the content library:
- Go to content library > sections and choose either the page flow or static setting.
- Name your section
- Fill out your section with copy and images (Note: you won’t need to worry about designing your section as it will take on the default design elements of the proposal it’s added to).
- Click the green button in the top left corner of your screen to save.
2. To save an existing section from a template into the content library:
- Go to the editor and choose the proposal/template containing the section you would like to save.
- Click the "..." button that appears when you hover over the section name from the left-hand section menu. Then select "revisions"
- The revision history will appear on the right. Click "Push" (or “Save To Library”) to save this section to your content library.
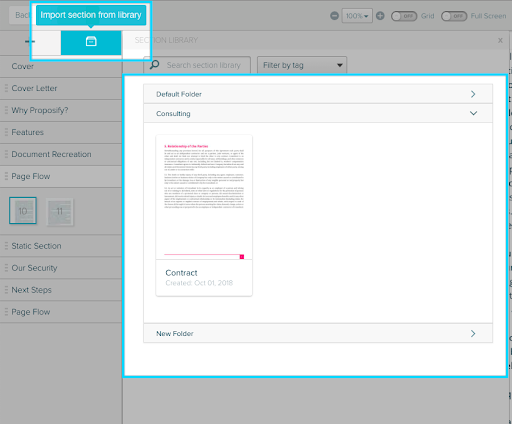
3. To import sections to your proposal from the content library:
Go to the proposal you’re working on in the editor > drawer button > search section library > click and drag section to proposal
Fees
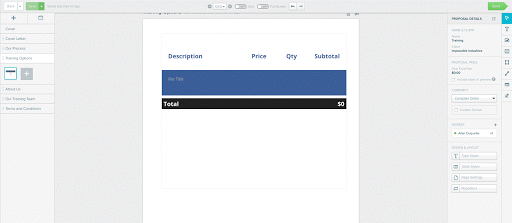
Storing fee tables in the content library will save you from building one each time you send out a proposal.
From the fees section of the content library, you have three options:
- Go to content library > fees and build your own fee library by hand
- Content library > fees > import and import fees from a CSV table
- Go to a proposal with a fee you’d like to save
- Click inside of the table you’d like to use, then click on the row you’d like to save.
- The right-hand menu will change to show options related to this row. Expand the “fee library options” menu
- Click “copy to fee library”
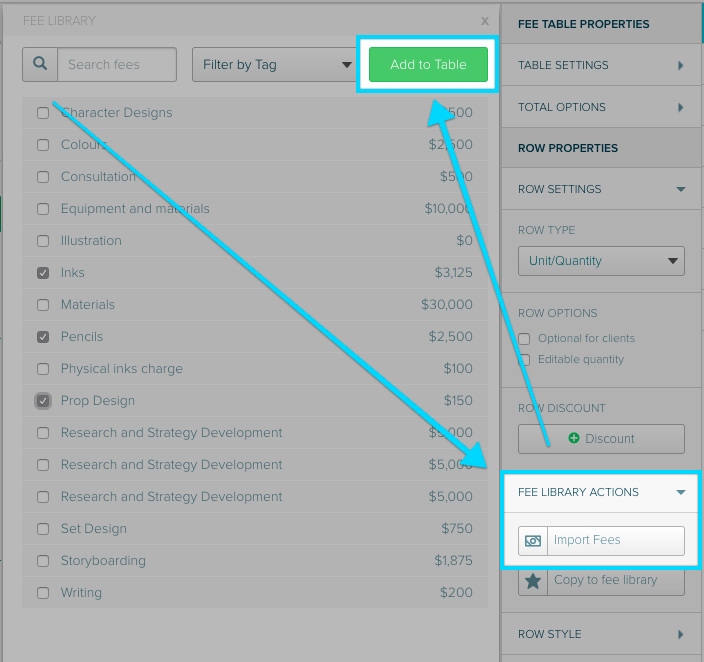
To import fees to your proposal from the content library:
Go to the proposal in the editor > create a fee table > click until cursor blinks > click “fee table actions” on the right hand side and select import > select which fees you’d like to import and click “add to table”
Snippets
Sometimes you don't need to save/reuse an entire section to your library, all you want is a small blurb of text. You can save those as snippets in your content library so that you don’t have to copy/paste or re-type the same content over and over again
To create a new snippet you can:
- Go to content library > snippets and click the new snippets button. Give it a name, add your text and tag it if you want. Like sections, these will automatically adopt the proposal/template’s font styles, so don’t worry too much about formatting.
- Or when you are editing a proposal or template, highlight the piece of text you want to save, click on the snippets tool and click the "+ Snippets" button. Name your snippet and save it to the library.
To import snippets to your proposal from the content library:
Go to the proposal in the editor > make sure your cursor is in a text box > click the snippets tool and find your snippet from the drop down > click the snippet to insert in your text box.
Images
To save images to your content library you can either:
- Go to content library > image and click the new images button to upload your own
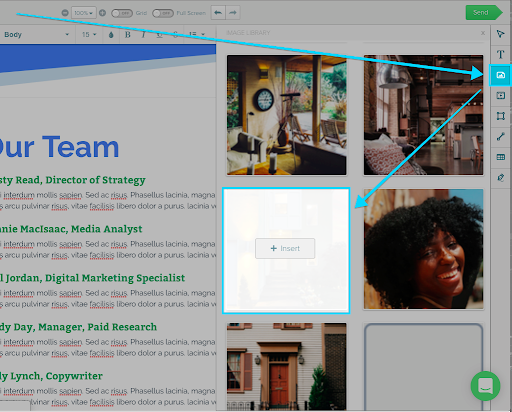
- Or click the Unsplash Photos tab, enter a search term, and hover over your preferred image to save it to your library
To import images to your proposal from the content library:
Go to the proposal in the editor > click the images button on the right-hand side > search your image > click to insert
Building a proposal
Putting a little time and effort into building your content library will payoff tenfold when you start assembling your proposals with a fraction of the work of starting from scratch. Gather content now, and look forward to a little clicking, dragging, and tweaking later.
Stacking your content library with text, fees, and images you use over and over again will shave valuable time off your proposal process. Instead of digging through files and folders or tracking down co-workers to find what you’re looking for, everything you need will be conveniently located and organized in one place.
Adopting these methods will help get your proposals in clients’ hands—and signatures on the dotted line—in record time.
Keep an eye out for our next installment in this series on branding your proposal.


