Proposify’s content tables come in handy for formatting ideas into charts and lists (think fee tables that don’t calculate numbers). But don’t take them at face value.
They’re highly customizable, so with a little creativity, they can transform the layout of your proposal in a big way.
What we mean is, don’t be afraid to think outside the box, or in this case, the cell.
Check out the top three unexpected ways you can use content tables for your next proposal:
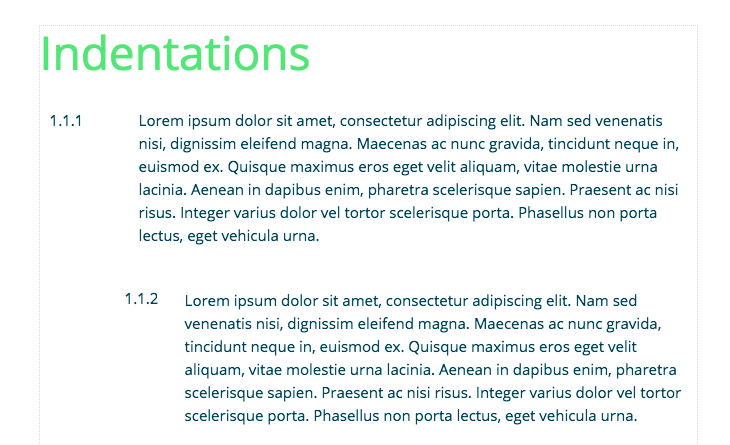
Indentation
You can give your content sharp-looking indentation by putting it in a table. This is a great option for clearly defining and organizing specific chunks of text.
To give it a try, follow these steps:
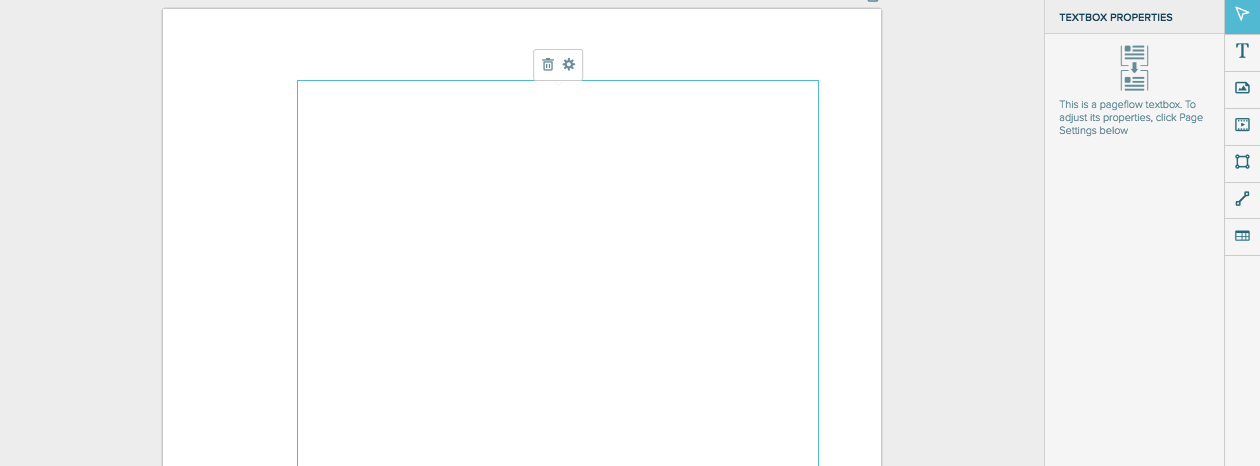
Create new section with page flow turned off
Click the body of the textbox
Create content table with one row and two columns
Resize the table to the margins you need
Proposify pro tips:
If you need multiple sections, make another content table underneath following the same steps.
The boxes will appear grey, but you can make them white, if you prefer.
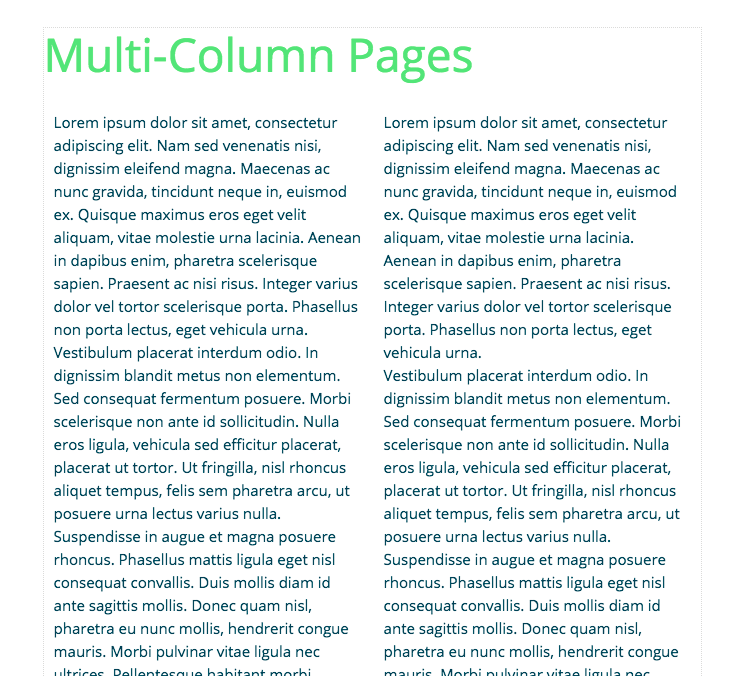
Multiple columns
Dividing up your text in two or more columns on the page is a great way to display your longer pieces of content.
To do that, follow these steps:
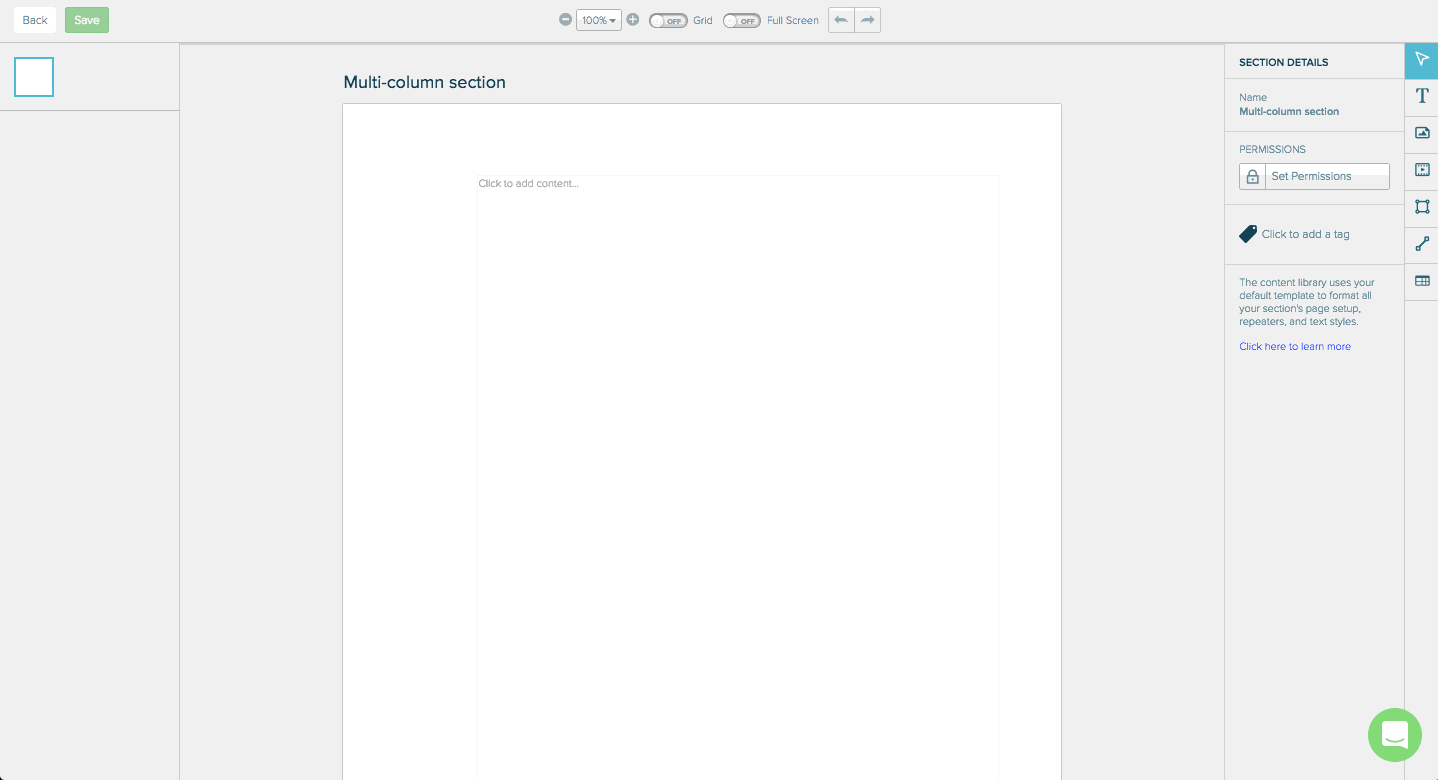
Create new section with page flow turned on
Click the body of the textbox
Create content table with one row and however many columns you need
Insert your text
Once you reach the bottom on the page, create a new line to continue onto the next page
Side-by-side images
A little-known fact about content tables is that you can upload images right into the cells. This is useful for offering a visual comparison of two things, like your competitor’s prices vs. your own.
Follow these actions to give it a go:
Create a new section with page flow turned off
Click the body of the textbox
Create content table with two rows and two columns
Click the first cell
Click the image tool and insert your image
Do the same for the second cell
Use the bottom two cells for text, which you can stylize to your liking
With a little experimentation, even seemingly modest tools like content tables can take your proposal to the next level.
Do you have your own hacks for Proposify’s features? Let our customer support team know! We love to hear how you’re using our tools to design irresistible proposals.